
How Can I Fix Leaking Gutter Corners Like a Pro?
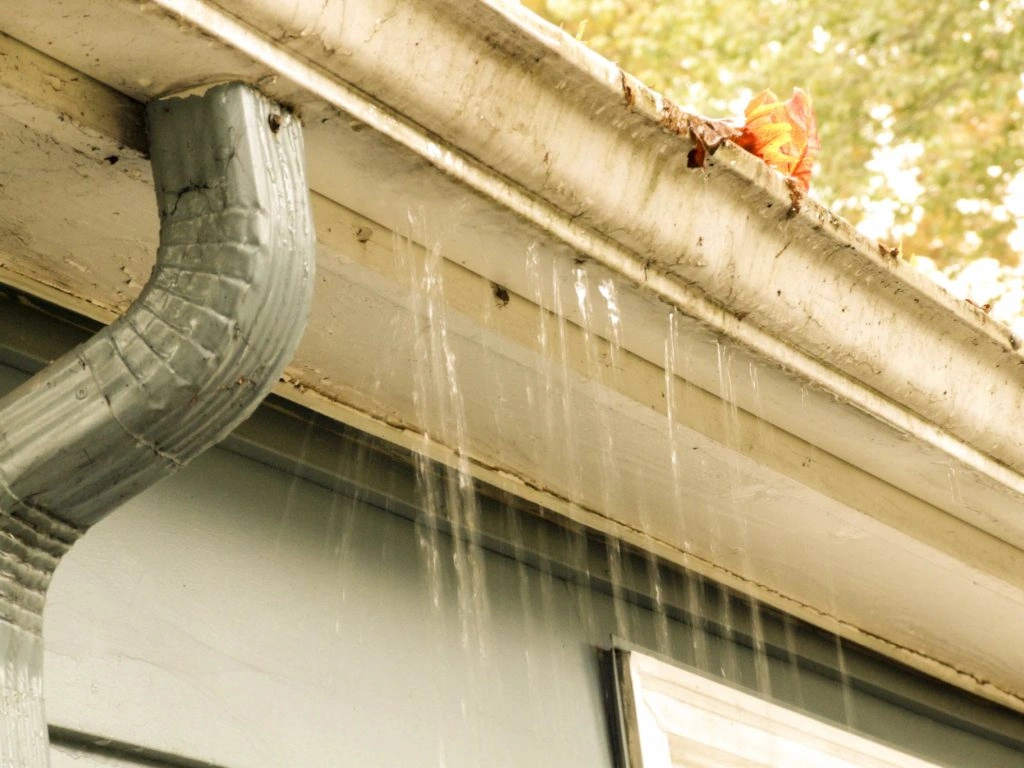
So, your gutter corner’s leaking, and it’s driving you nuts. Every time it rains, there’s that little waterfall trickling down the side of your home. You know it’s not supposed to be doing that, and you’re wondering: How to repair leaking gutter corners? Well, you’re in the right place.
Leaky gutter corners are one of the most common issues homeowners face—but oddly enough, they’re also one of the most neglected. Most people only notice the problem when it’s already causing water stains, puddles, or worse—damage to their home’s foundation. The good news? You can absolutely fix leaking gutter corners like a pro with the right tools, techniques, and a little know-how. And if you’d rather leave it to the experts, Proper Roofing’s Gutter Repair Surrey service has your back.
But first, let’s talk about why this happens in the first place.
What Causes Gutter Corners to Leak?
Gutter corners are like the knees of your gutter system—they bear the brunt of water flow, expansion, and shifting over time. Some of the most common reasons they leak include:
- Old or cracked sealant: Over time, the silicone or gutter sealant breaks down due to UV rays and temperature changes.
- Debris buildup: Leaves, twigs, and gunk can block water flow, increasing pressure at corners.
- Improper pitch: Gutters that don’t slope properly cause water to pool and overflow at joints.
- Loose fasteners: When screws or hangers come loose, gutters sag and seams pull apart.
- Freezing and thawing: In colder months, ice can expand inside corners, splitting the seal.
What most people don’t know is that a small leak at the corner can actually compromise the entire gutter system if ignored. Water escapes the intended drainage path and seeps into fascia boards, siding, and even foundations. That’s thousands of dollars in damage just waiting to happen.
How to Fix a Leaking Gutter Corner Like a Pro
Ready to get hands-on? Here’s your step-by-step guide to fixing that pesky leak properly—without duct tape or quick fixes.
1. Start with a Clean Gutter
This is non-negotiable. Before you even think about sealing anything, you need a clean workspace.
- Remove all debris from the gutters.
- Use a garden hose to flush out small particles.
- Let it dry completely—the sealant won’t stick to wet or dirty surfaces.
Pro Tip: Use a leaf blower with a nozzle attachment for a fast, no-mess clean. It’s safer than climbing ladders repeatedly.
2. Remove Old Sealant
Grab a putty knife or wire brush and gently scrape out any old, cracked, or peeling sealant from the corner joint. This step is crucial for the proper adhesion of the new material.
Insider Knowledge: Many DIYers skip this part, and their repair only lasts a few weeks. A clean, bare surface ensures a long-lasting fix.
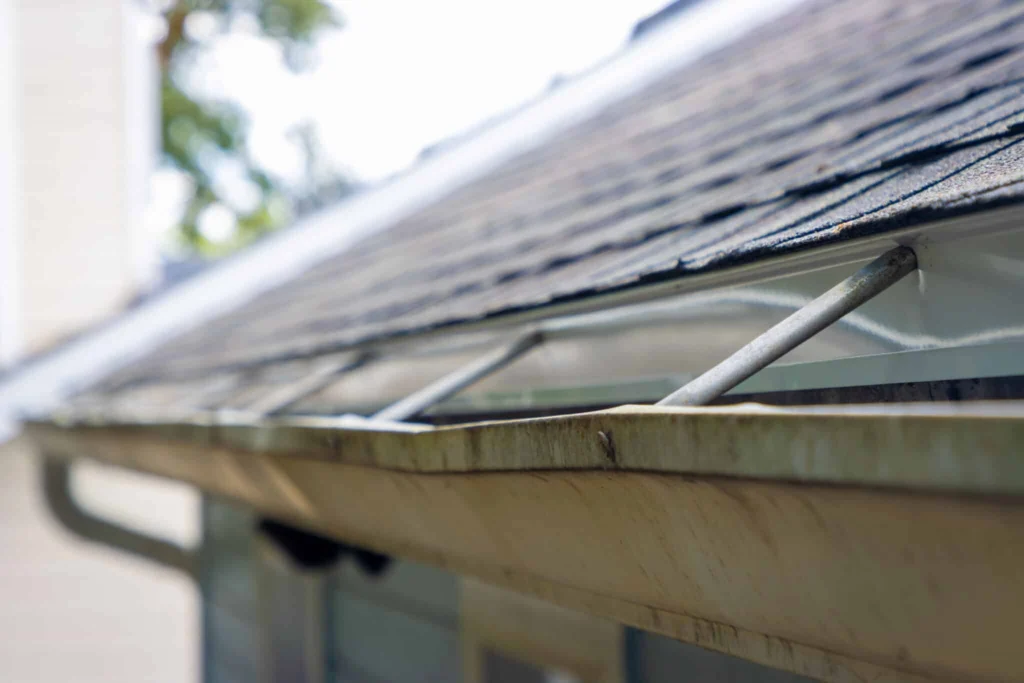
3. Inspect for Damage
Look for rust, holes, or separated joints. If the metal is rusted through or the gutter is pulling away from the fascia, patching won’t be enough—you may need to replace that section or call in the pros.
The Secret Sauce: Applying a High-Quality Gutter Sealant
Now comes the repair itself.
- Choose a waterproof gutter sealant (polyurethane or rubber-based).
- Apply a thick bead inside the corner seam—don’t be stingy.
- Use a gloved finger or putty knife to press and smooth the sealant into the joint.
- Let it cure according to the manufacturer’s instructions (usually 24 hours).
For metal gutters, lightly sand the area first for better adhesion. Most homeowners skip this, and that’s why their sealant peels off within a season.
Extra Protection: Reinforce with Gutter Patch Tape
If you’re dealing with a chronic leak or live in an area with heavy rainfall, consider applying aluminum-backed gutter repair tape over the cured sealant for double protection.
- Cut a piece of patch tape slightly larger than the joint.
- Apply it over the seam and press firmly to create a watertight bond.
- Run a heat gun over it (gently) to improve adhesion and flexibility.
According to the Canadian Home Builders’ Association, water damage from clogged or leaking gutters accounts for an average of $2,000–$5,000 in repairs per home. That small drip could cost you a vacation.
Don’t Forget to Test It
After the sealant cures, run water through the gutters using your garden hose. Check the corners. If it’s still leaking, dry it out and apply a second layer. One application is usually enough, but depending on the age and material of your gutter, reinforcement might be needed.
Preventing Future Gutter Corner Leaks
Fixing the leak is great, but let’s make sure it doesn’t happen again.
1. Seasonal Gutter Cleaning
Twice a year is the bare minimum (spring and fall). If you’ve got overhanging trees or pine needles, aim for quarterly cleaning. Clogged gutters lead to overflow and seam stress.
2. Install Gutter Guards
Leaf guards or mesh screens significantly reduce the amount of debris entering your gutters. They’re not a one-and-done fix, but they do make maintenance easier and more effective.
3. Check the Slope
Gutters should slope toward the downspout—about a 1/4 inch drop per 10 feet. Use a level to check this. Poor pitch equals pooling water, which stresses corners and seams.
4. Re-Caulk Every 3–5 Years
Even high-quality sealants break down over time. If your gutters are more than a few years old, inspect and reseal corners before they become a problem.
5. Mind the Ice Dams
For homeowners in colder regions, winter ice buildup is a major concern. Insulate your attic, clear your roof after snow falls, and consider heating cables if ice dams are frequent.
Why Homeowners in Surrey Trust Proper Roofing
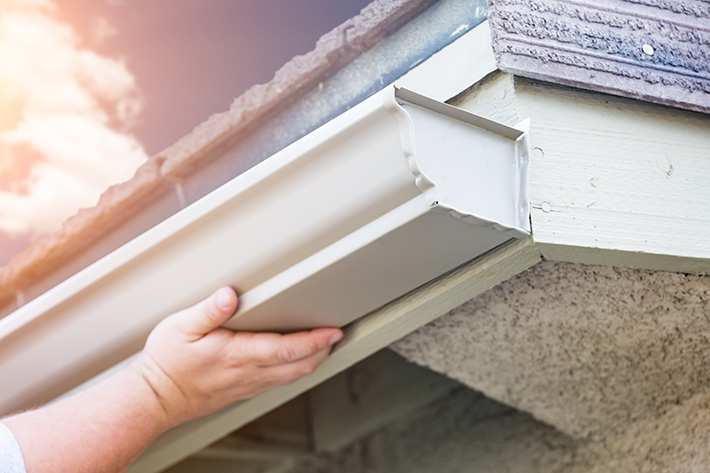
Let’s face it—climbing ladders and messing with sticky sealant isn’t for everyone. That’s where Proper Roofing comes in.
As the go-to team for Gutter Repair Surrey, we offer more than just patch jobs. We inspect your entire gutter system, identify underlying issues, and provide repairs that last through the seasons.
What sets us apart?
- Expert knowledge of Surrey’s unique weather patterns
- Thorough inspections to catch problems before they escalate
- Top-grade materials for durable, long-term fixes
- Professional service from friendly, local experts
- Fair pricing with no surprise fees
When you call Proper Roofing, you’re not just getting a quick fix—you’re protecting your home’s value, structure, and longevity. And we take that responsibility seriously.
Final Thoughts
So, how can you fix leaking gutter corners like a pro?
You start by understanding what causes the leaks, cleaning the area properly, removing old materials, applying a solid sealant, and backing it up with a patch if needed. Then, you take preventative steps like seasonal cleanings, proper slope checks, and occasional resealing to make sure the problem doesn’t return.
Remember, small leaks lead to big damage. Don’t ignore them—and don’t settle for half-done repairs.
Protect Your Home the Right Way
Leaky gutter corners are a warning sign—don’t ignore them.
Fixing them yourself is possible, but doing it right takes time, patience, and the right tools.
If climbing ladders and sealing seams isn’t your thing, we’ve got you.
Proper Roofing’s Gutter Repair Surrey team offers fast, reliable, and professional service that homeowners trust.
Call us today or book your inspection online—it’s the easiest way to keep your home safe and dry all year long.
Check out our social media pages below:
Check out some of our blogs to help with your Roofing needs:
